Painting Your Walls?
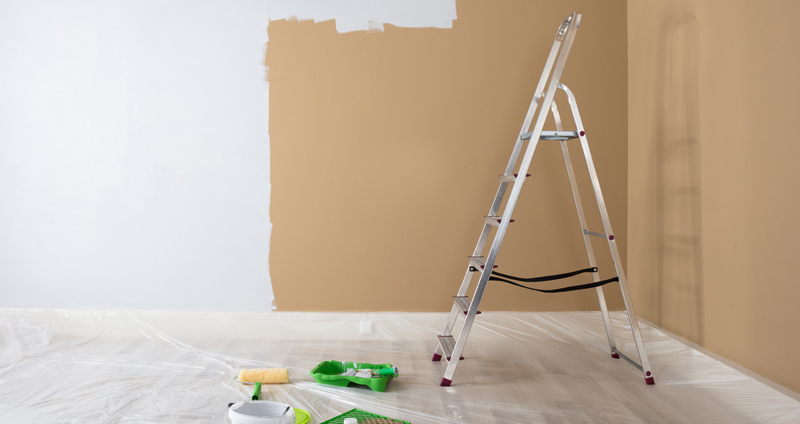
Refreshing your interior walls and ceilings with a new coat of paint is the easiest way to update a room. Get professional results when you paint by identifying your walls’ interior surfaces, selecting the best products for the job, and maintaining your hard work.
Get Prepped!
A paint’s performance is directly related to the degree of surface prep. Before you pick up a paint brush, make sure your walls’ surfaces are:
Sound: Check for structural defects. Are there cracks? Any loose pieces of the wall? Some of these might be easy fixes, but if you are unsure or issues re-emerge contact a licensed general contractor.
Clean: The surface must be free of all dirt, dust, wax, oil, grease, and chalk.
Dry: Make sure to follow the manufacturer’s instructions for any caulking or spackling you used for the amount of time required before painting. Also make sure you allowed adequate time for the surface to fully dry after cleaning.
Plaster
What it is: Lath and plaster is a building process that begins with narrow strips of wood nailed horizontally across wall studs or ceiling joists. Plaster is then applied to fill the gaps and smoothed creating the wall surface.
Where it’s seen: Interior walls and ceilings in homes built until the late 1950s.
Before you paint it: New plaster must cure for at least 30 days at 72°F (22°C) before applying paint. Make sure walls have been sanded, smoothed, and dusted. Fill cracks with spackling compound, allow to dry and sand smooth. Remove sanding dust.
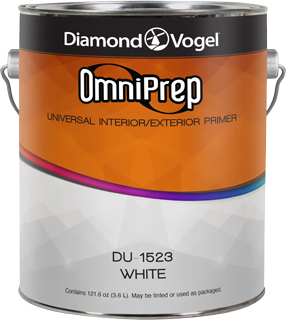
Recommended products: Diamond Vogel's OmniPrep Universal Interior/Exterior Primer is perfect for new plaster since it is highly resistant to alkalinity. Apply your favorite Diamond Vogel interior latex finish.
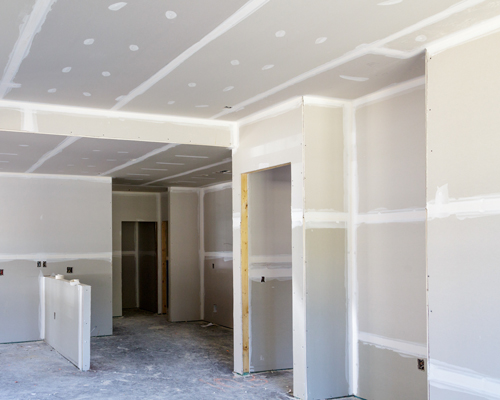
Drywall
What it is: A panel of gypsum plaster covered on both sides by paper. Drywall is easier, faster, and less expensive than plaster, and became the predominant wall building material in the United States after the 1950s.
Where it’s seen: New construction, renovation, and repair work.
Before you paint it: Fill nail holes and imperfections with spackling compound and allow to dry. Sand tape joints and spackled areas and remove dust. Glossy surfaces should be dulled by sanding.
Recommended products: Primacy Premium Primer/Sealer is perfect for priming surfaces using a brush or roller. It can be used to prime new drywall surfaces or spot-priming repair work before paint.
Hardboard
What it is: Engineered wood product, more heavy duty than particle board.
Where it’s seen: Interior doors.
Before you paint it: Sand smooth any exposed wood surfaces. Patch nail holes and any imperfections with wood filler or putty and sand smooth. Remove sanding dust.
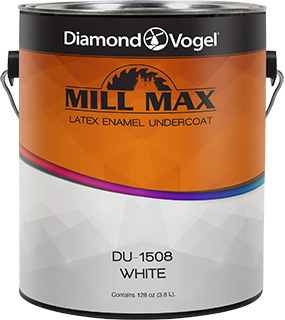
Recommended products: Mill Max Latex Enamel Undercoat seals new interior wood surfaces helping create a smooth, non-porous surface ready for paint.
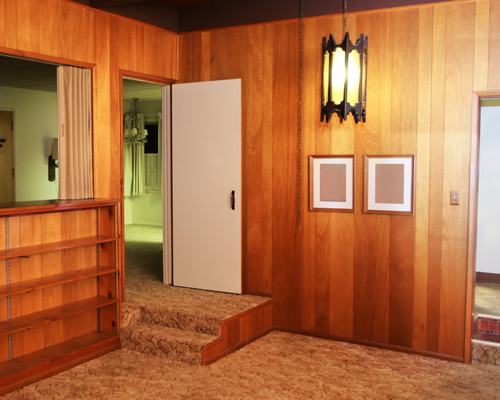
Wood Paneling
What it is: Popular interior wall accent from the 1960s and ’70s, though more updated versions are still seen today.
Where it’s seen: Common in basements, living and dining rooms.
Before you paint it: Whether your wood paneling is solid or veneer, it’s pretty easy to paint for a refreshed, more modern look. Patch nail holes and any imperfections with wood filler or putty, and sand smooth. Remove sanding dust.
Recommended products: OmniPrep Universal Interior/Exterior Primer adhesion promoting and stain-blocking properties make it an excellent choice for priming old wood paneling prior to finishing.
Maintaining Interiors
Once you’ve cleaned, prepped, and painted your surface, you’ll want to maintain your walls’ integrity. Try these go-to tips for keeping your walls spic and span.
Deal with dirt: Interior paint typically gets dirty in many situations: hand prints around switches and knobs; splashes in kitchen and bathrooms; marks on hallways and corridors; “soot” accumulating above electric lamps and other heat sources.
Removing dirt before it accumulates not only improves appearance, it reduces chances of it getting permanently embedded in the paint film. While changing color is a good reason for painting, covering over dirty paint is generally not. Especially when these easy tips will keep your paint looking great.
- Check for dirt periodically and assume it will be present in and near cooking areas (airborne cooking oil) and at all places at hand height.
- Always try to clean the surface first with a slightly dampened (with water) clean white cloth. You can add a mild, non-sudsing cleaning agent if necessary. Harsher cleaners should only be used when necessary, recognizing that alkaline cleaners can dull the sheen or gloss of satin, semi-gloss and gloss products.
- Washed surfaces should be rinsed thoroughly because residual cleaner can interfere with adhesion of paint applied later.
Treat mildew: Watch for growth of mildew on painted surfaces that tend to be moist; this includes laundry and basement areas, bathrooms and kitchens. Mildew should be treated and removed and never simply painted over.
- Apply a 3:1 mixture of water and household bleach to the mildewed area using a rag or sponge. Wear eye and skin protection and a respirator. With colored paints, test a small area first to be sure the bleach solution won’t cause fading. Protect the floor and nearby articles.
- Don’t allow the bleach solution to dry on the surface.
- Rinse area thoroughly.
As always, Diamond Vogel is here to help. If you have a painting question not covered in this post, don’t hesitate to ask. Our knowledgeable staff can recommend the right product, steps, and tips that will ensure your project looks great.