Front Door Makeover

Your front door is more than the entrance to your home. It is a crucial design element in curb appeal and a great place to add a splash of color. Renewing your front door with fresh paint is a great weekend project. Here are the steps on how to do it right.
One of the biggest challenges in painting your front door is scheduling the time for the project. During the project you are preparing the door, painting, and applying in between coats, all while your entry will be open. Ideally, you would take the door you are painting down, and place a temporary door in its place. Most of us don’t have a spare door laying around we could use. Because of this, we recommend using a latex paint that dries fast to minimize the dry-time between coats and shutting the door.
painting your previously painted door
Remove the Door or Paint in Place?
First, you have to decide whether you want to remove the door from its hinges or paint it in place. This is personal choice on how you want to work. Some people will find it much easier to remove the door and place it on saw horses, but these steps will also work well if you decide to leave it in place.
Prepare the Door
Start by removing the door handle, lock, and deadbolt assemblies. You can also protect these with masking tape, but it is much easier to get a nice finish not worrying about going around these. Thoroughly clean the door to remove all the dirt, dust, and hand oils that collect over time. To get the smoothest finish possible will require some elbow grease. Carefully sand the entire door surface starting with 120 grit sandpaper and finishing with 220 grit sandpaper to remove all the dings, dents, and rough spots. Make sure you clean off any of the dust from your door before you begin to paint.
Protect parts of the door you don’t want to paint with masking tape and masking paper. Also protect the floor if you are painting the door in place with drop clothes or plastic.
Starting to Paint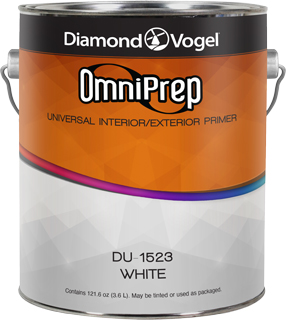
No matter what, we recommend applying a primer first. It minimizes problems, and our OmniPrep Universal Interior/Exterior Primer is a great choice. It promotes adhesion on tough to stick to surfaces, minimizing the potential for peeling. It also has stain blocking pigments that help block imperfections from reappearing in your finish coat. For flat doors, applying the primer by a roller cover is a great way to ensure a smooth finish. A great choice is one of the microfiber or foam roller covers. If you have a paneled door, a combination of a brush and roller cover is the best choice (see below for more information on how to paint a panel door).
After giving the primer enough time to dry, you can move on to applying the finish. In most cases, OmniPrep Universal Interior/Exterior Primer can be coated in 2 hours, but it depends on temperature and humidity.
Remember, paint dries faster in higher temperature, lower humidity, or when exposed to direct sunlight. Avoid painting in these conditions when possible.
painting paneled doors
Painting paneled doors can be challenging unless you start with a plan. Begin by using a brush to paint the recessed areas of the panels. Then, using either a brush or a roller, paint the faces of the panels, followed by the rails and stiles of the door. Try to minimize painting into partially dried paint film to reduce unsightly brush or roller marks.
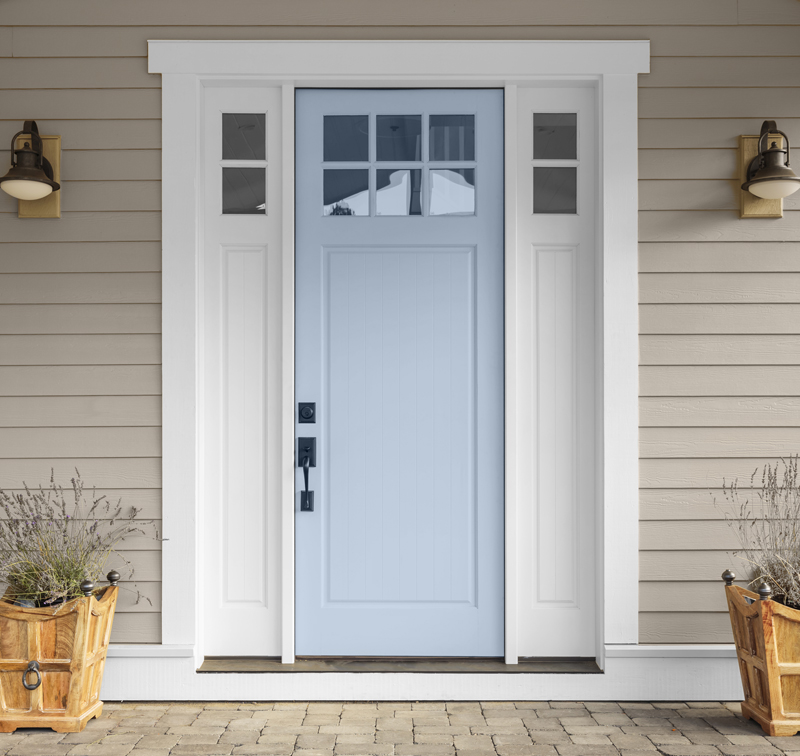
(Diamond Vogel's 2018 Color of the Year Atmospheric Pressure on an exterior door)
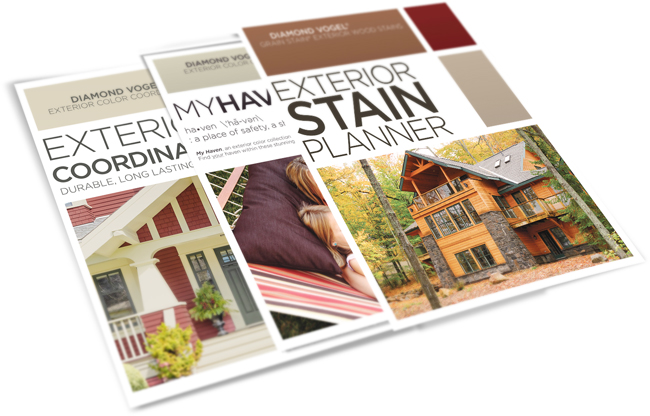 Need color inspiration for painting your entry door? Learn how to create a stunning first impression. We offer color collections to help you find the best in exterior color for your project. Take a look at Diamond Vogel Exterior Coordinates, MyHaven, and Diamond Vogel Exterior Stain Stop by your local Diamond Vogel for more information.

![]()